
Process

The Gilding Process
Gilding my work is a labor of love. It’s a hand-made component of my print-making process that’s reminiscent of my many years working with black and white film printing. Taping the digital photographic prints on vellum securely to the boards, varnishing the backs, then creating a temporary paper border to frame the image, painting on the size adhesive with a brush, pressing and gently rubbing the metallic gilding leaves onto the tacky size, and varnishing the image at three different stages in the process — the combination of digital and analog craft processes is a uniquely satisfying bringing together of my past and present image-making.
Before Gilding
These are waiting to have size applied and then be gilded.


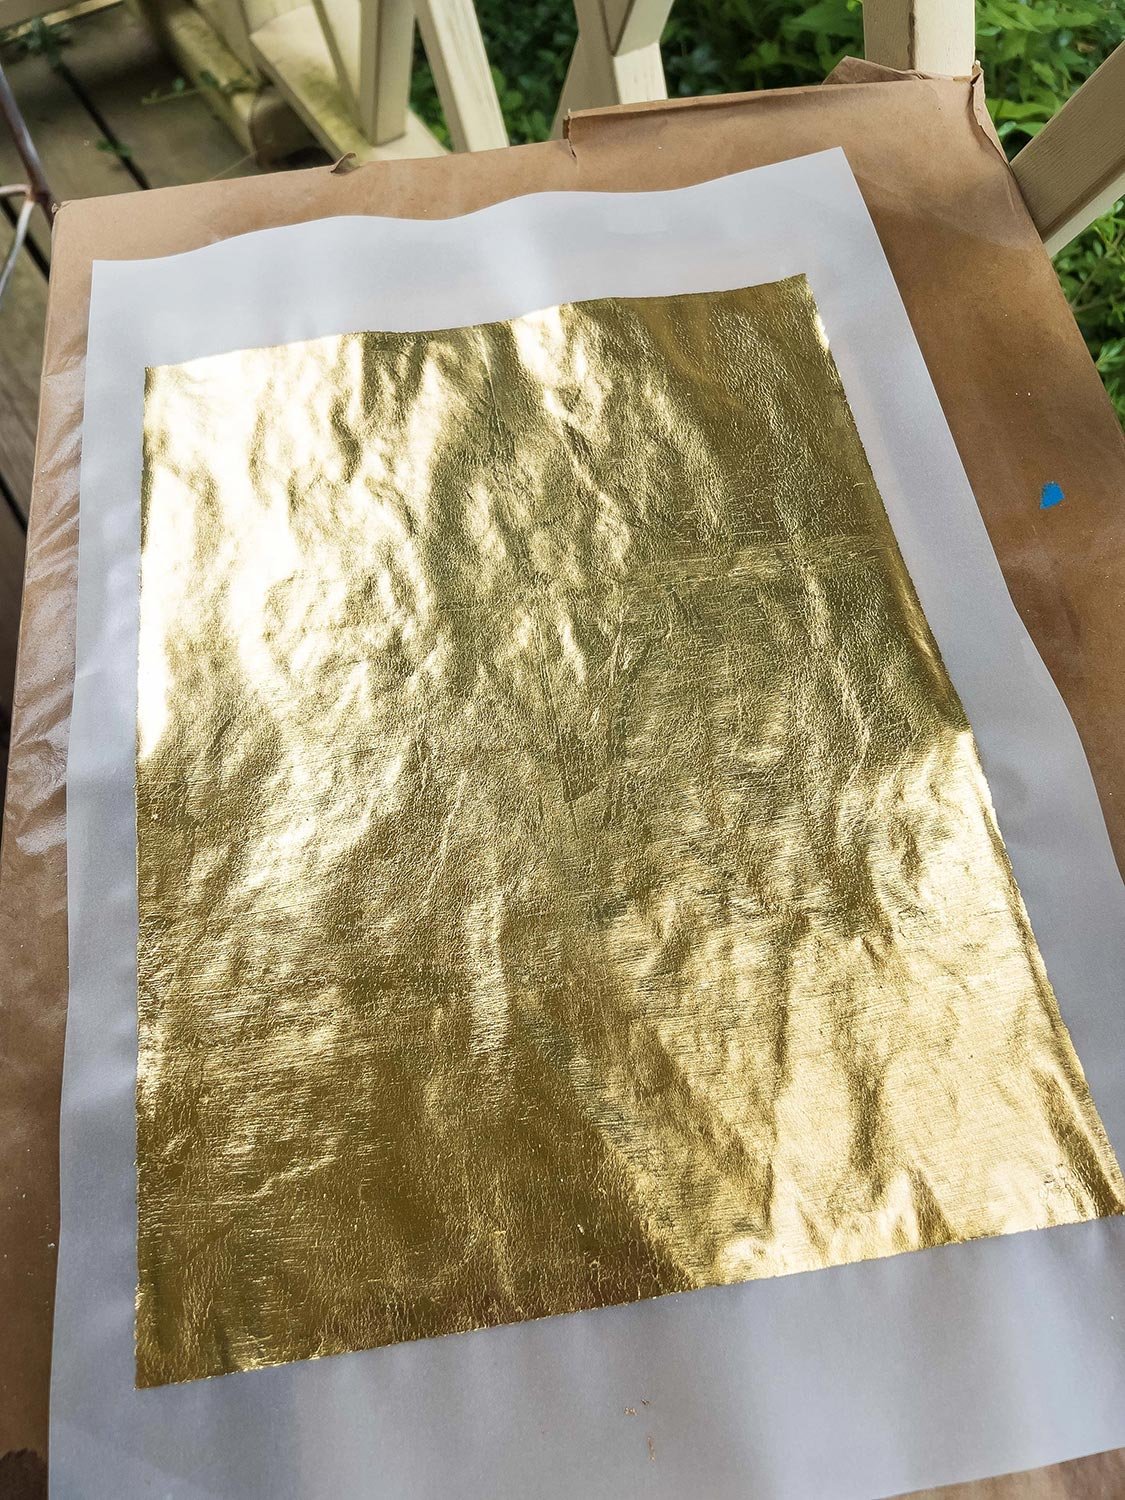
Partially Gilded
The gold leaf, which comes in squares, is applied to the slightly sticky adhesive.
Fully GildED
The back of the print has now been completely gilded.

Varnishing The Backs
Spraying the varnish is best done outside or in an extremely well-ventilated space as the varnish is quite toxic, ergo the respirator I wear. The varnish on both sides serves to protect the image from UV damage and prevent tarnishing / degradation of the gilding.
CompleteD Gilding
The completed gilding in these examples is silver-toned, and you can see evidence of the brushed-on size (adhesive) which gives the prints a painterly feel and makes each image somewhat unique. The metallic shimmer of the gilding that shines through the image from the back of the print is best appreciated in person. Each print has been dedicated to an individual I’ve known or is someone a family has lost.
